Android sample projects
Last updated: Apr-23-2025
We've created some sample projects to get you started with integrating Cloudinary into your Android applications.
Android sample app
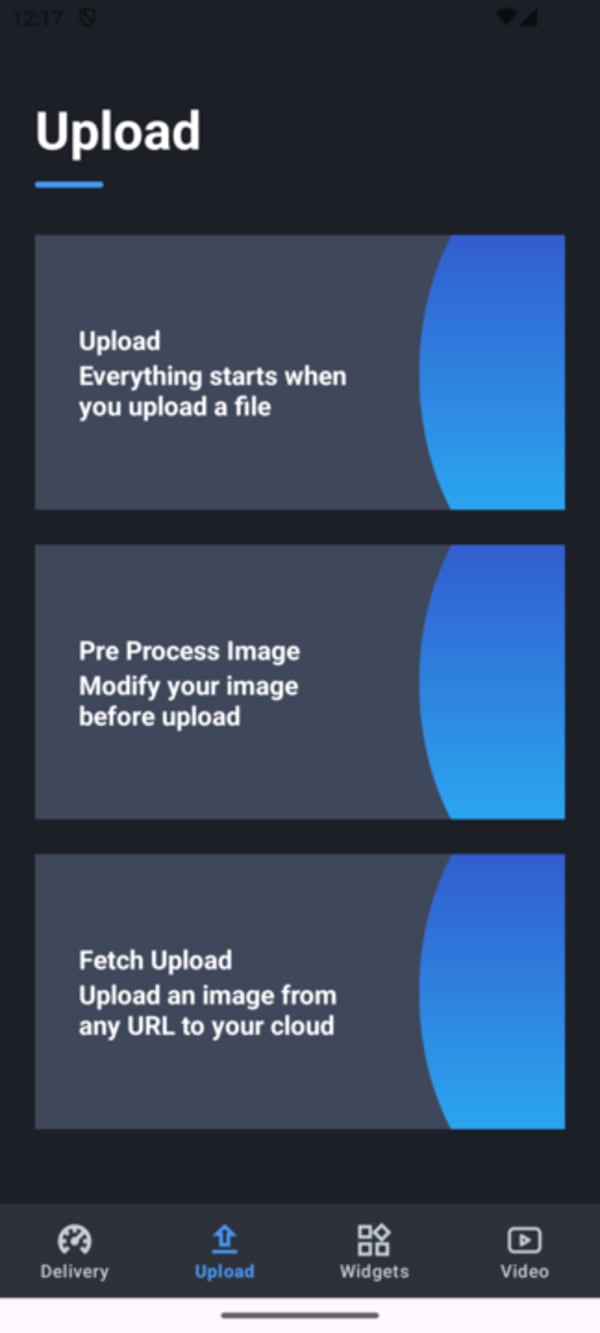
The sample app demonstrates a variety of Cloudinary features as well as specific features of the Android SDK itself, while showcasing a modern UI design. The app covers:
- Delivery - Delivering your image assets with optimizations and advanced transformations applied.
- Upload - How to handle uploading images to your product environment, including pre-processing or fetching remote content.
- Widgets - How to add both the image and upload widgets available with the SDK.
- Video - Delivering videos with the bundled video player and examples of delivering different video assets.
To get started with the Android sample app, clone the Android SDK and complete the following steps:
-
Open the project from the repository root, a file named
gradle-local.propertiesshould be automatically created (you can manually create it if it's not there). The file should contain a single property with your cloudinary URL, stripped to your cloud name only:cloudinaryUrl=cloudinary://@myCloudNameNoteThis file is ignored by git and should never be checked in. Run
./gradlew clean(gradlew cleanon Windows) from the repository root.Open the Upload Presets configuration in the Cloudinary console and select "Add Upload Preset". Type
android_sampleas the name and click Save, leaving all the fields with their default values.
After completing the steps above, run the build command to build the app and start uploading resources to your Cloudinary product environment.
E-commerce demo app
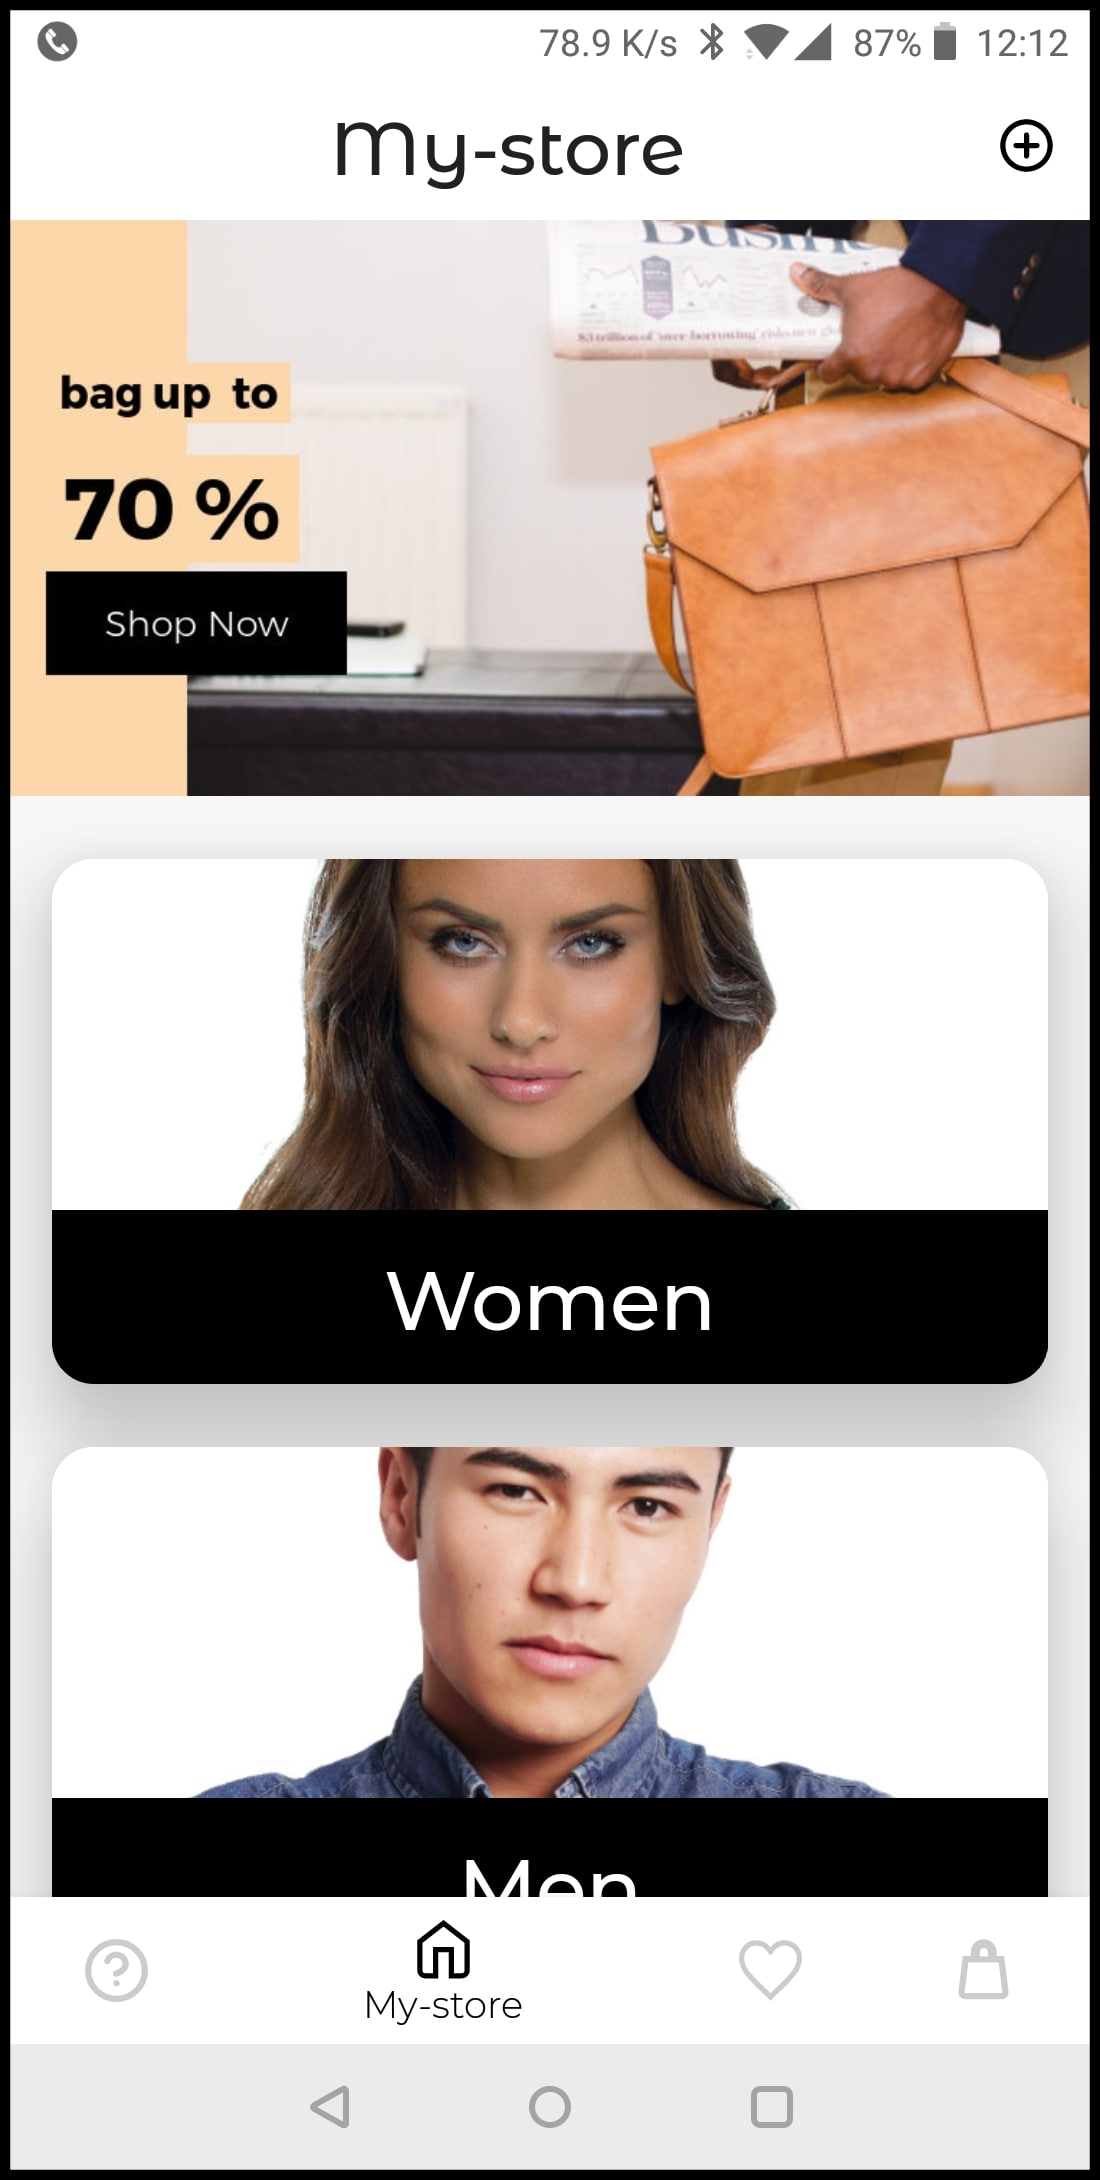
The Cloudinary e-commerce demo app demonstrates some of the Cloudinary features aimed at e-commerce, shows how to take advantage of existing open source libraries (e.g., Picasso, Glide, Fresco, Imageloader) and integrates them within a functional app.
To learn more, see Introducing the Cloudinary Demo Android App, Part 1.


